How to change the pot after the butterfly orchid is withered

Phalaenopsis flowering is very beautiful, the normal flowering period is in spring and summer, but if the maintenance and management is proper, it can also achieve four seasons flowering. In order to promote the compound flowering of potted Phalaenopsis, we can change the pot for it after the flowers fade in summer. So, what about Jack?
Phalaenopsis prefers warm growing environment, but it also has the characteristics of non-heat resistance and high temperature resistance. When the temperature is higher than 32 °C in high temperature in summer, the plant is easy to enter semi-dormancy state. Therefore, in the semi-dormant state at the end of the flowering period of the butterfly orchid, we can change the pot for it.
First, prepare the basin soil
The root system of Phalaenopsis is fleshy, and it also has a lot of air roots. It likes the basin soil environment which is fertile and loose, permeable and permeable. So we can use the mixed matrix prepared in advance by the florist for sale, which is very suitable for growing Phalaenopsis. If you make it yourself, peat soil, sawdust, coconut bran and water moss can be used as substrates.
Prepare flowerpots
It is suggested that you prepare a pottery basin and a set basin, and then prepare some gravel. The original Phalaenopsis likes the growth environment with strong air permeability and water permeability, and the pottery basin precisely meets these characteristics. The sleeve basin is mainly used to cover the outside of the pottery basin in order to hold water. Gravel can be installed in a pottery basin to improve the permeability of the basin and avoid stagnant water caused by excessive watering.
Third, trim and take off the basin
After the end of the flowering season of butterfly orchids in summer, the branches that have flowered should be cut off in time to avoid wasting nutrients. Then take the flowerpot out of the original pot. Then remove the basin for it, clean up the old matrix, and then trim the root properly. It is mainly to cut off rotten roots, empty roots, withered roots and other bad forms of roots, and stretch the roots.
Fourth, build the environment
Lay a layer of gravel in the new pottery basin and pour in a new matrix. Then put the treated Phalaenopsis into the basin to compare the planting height, and then increase or decrease the substrate as needed until the planting depth is just right. It is generally required that the root neck is about 3 centimeters away from the edge of the basin.
V. the process of potting.
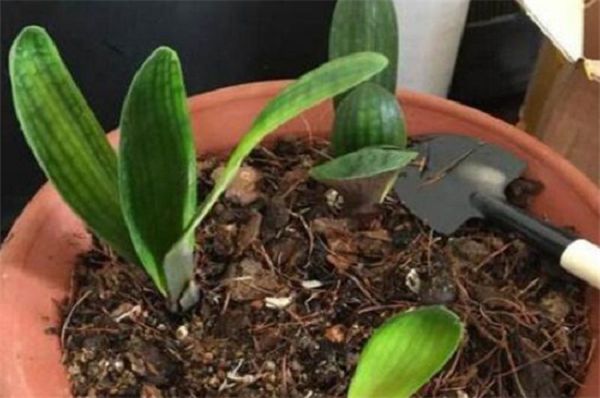
Next, put the plant into the new pot, and then slowly add the new substrate from all around. When the filling matrix is close to the edge of the pot, lift the flowerpot and shake it left and right to ensure that the matrix can smoothly fill the gap down, thus reducing the gap in the pot. Then some new substrates are added according to the depth of matrix subsidence.
VI. Pot cover treatment
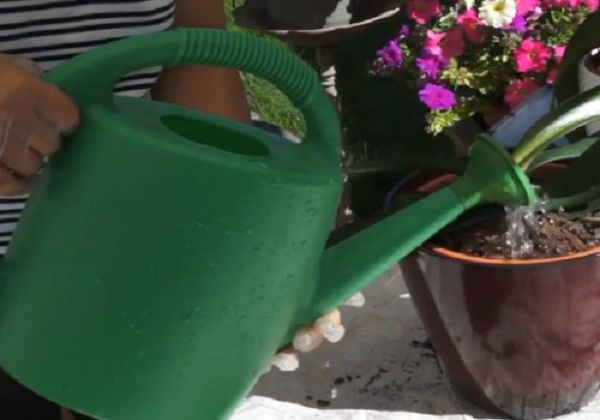
After sprinkling a layer of gravel into the pot, put the pot of Phalaenopsis into the pot, and then pour water thoroughly. At the same time, let the potted Phalaenopsis in the pot for 2-3 hours to ensure that the substrate in the basin can be fully soaked by water. This not only avoids the root system in the butterfly orchid pot from soaking in water, but also absorbs water from the pot.
- Prev

White orchid leaves black fall how to do, light too strong pest control
White orchid leaves black fall how to do, light too strong pest control
- Next

The gentleman orchid uses the sand to promote the root, enters the sand to water the shade to maintain.
The gentleman orchid uses the sand to promote the root, enters the sand to water the shade to maintain.
Related
- Is the orchid suitable for indoor use? Is it good for the body?
- How to prevent the empty root of orchids?
- What to do after the crab claw orchid is withered?
- Why are the leaves of orchids always yellow? Fertilizing and watering.
- Can the root of the gentleman orchid be saved if it is rotten?
- Diagnosis and treatment of cotton-blowing beetle insects in Cymbidium
- There is a way for a gentleman's orchid to rot.
- What is the most suitable temperature and humidity for the orchid?
- How to raise a gentleman's orchid? Cultivation techniques of Cymbidium
- How to prepare the nutritive soil for the cultivation of Cymbidium

