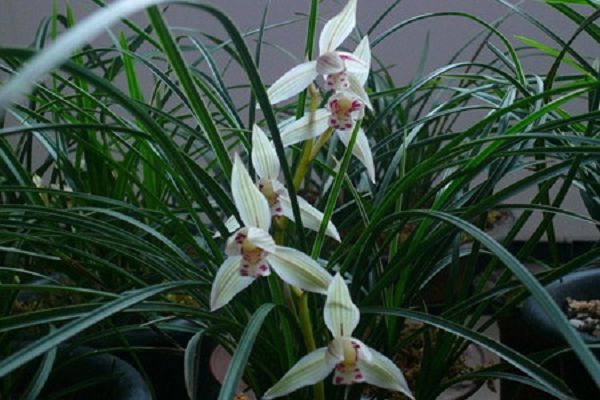
Steps of cuttage propagation of butterfly orchid pedicel
Cutting is a more efficient propagation method often used in the process of potted cultivation of flowers and plants, and it is also true for Phalaenopsis. Phalaenopsis, like many other flowers and plants, can often adopt cutting methods to breed potted seedlings.
And generally after the end of the flowering period of the butterfly orchid, we need to prune during the period to save nutrients and promote plant growth. At this time, we can use the pruned pedicels for cutting to propagate new Phalaenopsis potted seedlings. So, how does Phalaenopsis propagate with pedicel cuttings?
The method of cutting pedicels after butterfly orchids to reproduce new potted seedlings is relatively simple and can be achieved in just a few steps. Next, the editor will share it for you. I hope it will be helpful to you.
Step 1: cut the pedicel
Choose sturdy, full branches from the cut butterfly orchid pedicels. Generally speaking, after the butterfly orchid flower has withered, we can cut off the pedicel under the remnant flower for cutting propagation. At the same time, the residual flowers on the pedicel need to be cut off. And be careful when cutting pedicels to avoid hurting Phalaenopsis.
Step 2: make cuttings
There are usually bud spots on the pedicel, just near the long bud. If you are original and propagate by cuttage, you must protect these bud points and avoid injuring them and affecting the survival of cuttings. Of course, the cuttings can also be cut shorter before cutting, which can improve the survival rate.
Step 3: use rooting powder
After making the cuttings, in order to promote the cuttings to take root quickly and smoothly after cutting, it is usually recommended to soak the base of the cuttings with water and then stick some rooting powder. Or apply some rooting powder directly to the wound at the lower end of the cuttage. But usually dry the root first, and then apply rooting powder, which can avoid wound infection. It is also recommended to smear a little rooting powder on the wound left by cutting the upper residual flowers, which is safer.
Step 4: dry the cuttings
After applying rooting powder to all the cut areas on the cuttings, leave them in a cool and ventilated place to dry for a few days. After the wound on the cuttings condenses and dries, we can use it for cutting propagation and cultivating Phalaenopsis seedlings.
Step 4: wrap the cuttings
In order to make it easier for cuttings to take root, it is recommended that you wrap the base of cuttings with water moss when cutting. This is mainly due to the good water retention of water moss, which can moisturize the base of cuttings. In the usual maintenance process, we only need to spray a little water on the water moss.
Step 5: maintenance and cultivation
Next, put the cuttings wrapped in water moss on a small plate, and then put the small plate in a place with bright light and smooth air circulation for maintenance. Do not provide direct light for it prematurely, and provide it with scattered light at most. Otherwise, the cuttings will become dehydrated and die due to too much light. Generally maintained for 1-2 months, the cut part of the cuttings will take root and sprout, and then transplant it into the flowerpot and plant it.
Related
- Is the orchid suitable for indoor use? Is it good for the body?
- How to prevent the empty root of orchids?
- What to do after the crab claw orchid is withered?
- Why are the leaves of orchids always yellow? Fertilizing and watering.
- Can the root of the gentleman orchid be saved if it is rotten?
- Diagnosis and treatment of cotton-blowing beetle insects in Cymbidium
- There is a way for a gentleman's orchid to rot.
- What is the most suitable temperature and humidity for the orchid?
- How to raise a gentleman's orchid? Cultivation techniques of Cymbidium
- How to prepare the nutritive soil for the cultivation of Cymbidium


