Methods and steps of making Orchid Bonsai

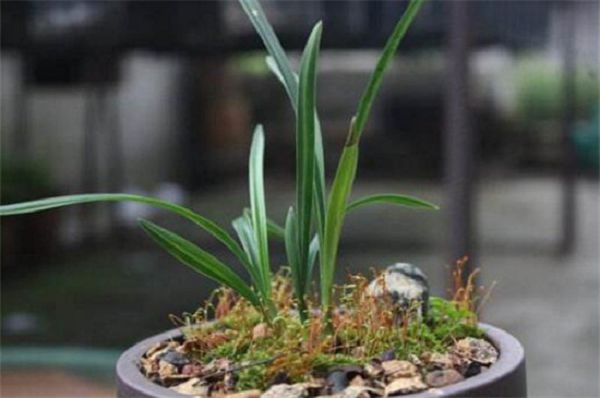
To make orchid bonsai, you should first choose a medium-depth purple sand basin, then divide the robust orchid seedlings into 3-5 clumps together, transplant them into the pot soil treated with cushion pots, and then slowly increase the soil to fix them, put good-looking pebbles for paving, and do a good job in water and fertilizer management and pruning and shaping to make them more beautiful.
1. Suitable for flowerpots
When making orchid bonsai, we should first choose a medium-depth flowerpot, and the material is preferably purple sand pot or ceramic pot, its breathable environment can make the orchid root system grow better, and its beautiful appearance can also improve the ornamental value of orchid bonsai.
2. Select flower seedlings
In the method of making orchid bonsai, we should pay attention to selecting healthy and beautiful orchid seedlings and divide them into several clumps to ensure that there are about 3-5 orchid seedlings in each clump, then clean the roots and put them in a cool place to dry the wound.
3. Cushion basin treatment
Before entering the pot, we should first do the cushion basin treatment, fill the bottom with tiles, bricks and shells at the bottom of the flowerpot, and then fill it with fine sand so that its height reaches the 1st canister of the flowerpot, and then add nutritious soil. When filling the bottom, pay attention to keep a certain loose space, so that its roots can move freely.
4. Put the orchid into the pot
Put the treated orchid seedlings in the middle of the flowerpot, let its roots stretch freely on the soil, then stabilize the orchid rhizome by hand, slowly begin to add nutritious soil around its roots, make it higher than the pot edge 3cm or so, be careful not to let the seedlings appear crooked phenomenon.
5. Stone pavement
After entering the basin, we also need to spread a layer of small colored pebbles on the soil of its roots, which can not only increase the appreciation of orchid bonsai, but also enhance the air permeability of the soil and avoid the phenomenon of stagnant water and rotten roots.
6. Water and fertilizer management
After the orchid bonsai is made, it needs to be watered in time, soaked soil to provide sufficient water for its root growth, and then put it in a cool place, waiting for its basin. Normal maintenance can begin in about 2 weeks, and appropriate amount of rarefied fertilizer solution can be applied and scattered light can be provided for it.
7. Pruning and shaping
In the later maintenance, we should also pay attention to pruning and shaping, so that the orchid bonsai can be highly appreciated. Cut off the ungrown branches and leaves with scissors in time to make it have a good plant type as a whole, and you can put pebbles or grass around it to make the bonsai look full of natural poetry.
Related
- Is the orchid suitable for indoor use? Is it good for the body?
- How to prevent the empty root of orchids?
- What to do after the crab claw orchid is withered?
- Why are the leaves of orchids always yellow? Fertilizing and watering.
- Can the root of the gentleman orchid be saved if it is rotten?
- Diagnosis and treatment of cotton-blowing beetle insects in Cymbidium
- There is a way for a gentleman's orchid to rot.
- What is the most suitable temperature and humidity for the orchid?
- How to raise a gentleman's orchid? Cultivation techniques of Cymbidium
- How to prepare the nutritive soil for the cultivation of Cymbidium


