How to propagate Phalaenopsis in potted plants at Home
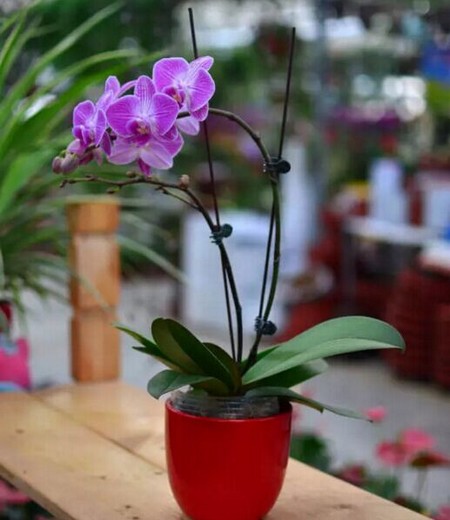
Phalaenopsis is a tropical epiphytic orchid, known as the "orchid queen". Racemes with many flowers, flowers in the shape of butterflies, colorful flowers and rich colors, long flowering period, is one of the most widely cultivated and popular species of Orchidaceae, and is loved by people all over the world. As a very important indoor flower, it is often found in the home and office, and it is also often used as the bride's hand bouquet in some areas.

Phalaenopsis is generally propagated by tissue culture, but it needs equipment and conditions, and only professionals can do it. Phalaenopsis is a uniaxial plant, generally without tillering buds, which is deeply regretted by many flower friends who want to reproduce under family conditions. Here, we recommend a propagation technique which uses the stem of butterfly orchid to propagate and stimulate tillering buds.
1. Pedicel budding method:
1. Cut off the remnant flowers and pedicels on the pedicel after flowering, and pay attention to keeping the ungerminated bud nodes (about three or four nodes). Carefully remove the bracts on the uppermost one or two node buds, expose the node buds, be careful not to hurt the buds, and apply a small amount of budding agents (plant hormones) evenly on the node buds. If the wound after removing the bracts can also be covered, the effect will be better. Put the treated orchids in the right place (you can see the light but not directly in the sun). The temperature should be kept at 25: 30 ℃ and the humidity should be above 75%. New seedlings can grow in 2 to 3 months. When the new seedling grows to a certain size, it is wrapped in a small amount of water moss at its base, and when the seedling grows two or three thick roots, it can be cut off and planted separately.
2. Apply a small amount of sprouting agent evenly on the node bud, if the wound after removing the bracts can also be covered, the effect will be better.
3. Ungerminated bud nodes of pedicel (about three or four nodes). Phalaenopsis usually differentiates flowers from the base of the pedicel (near the mother plant) at nodes 6 and 7. Except for the first basal node, the buds can be seen by peeling off the bracts located below the flowering node, which are good materials for reproduction. Phalaenopsis pedicel bud culture, the material access period is not limited, from Phalaenopsis pedicel production, to the flower withered, as long as the pedicel is still green and not withered yellow. Can be used as culture materials.
4. Carefully remove the bracts on the uppermost one or two node buds to expose the node buds, and be careful not to hurt the buds.
5. Take a small amount of budding agent, dip it with toothpick and point it on the bud point of the stem. It is quick and effective.
6. Put the treated orchids in a suitable place (you can see the light but not directly in the sun). The temperature should be kept at 25: 30 ℃ and the humidity should be above 75%. New seedlings can grow in 2 to 3 months. When the new seedling grows to a certain size, it is wrapped in a small amount of water moss at its base, and when the seedling grows two or three thick roots, it can be cut off and planted separately. The picture shows that the treated flower stem is fixed on the water moss and has produced three pages and two roots. It can be cut off and planted separately.
Second, the method of cutting stems (commonly known as decapitation):
Phalaenopsis is a single-stem plant, which grows upward from the erect stem, but there are 1-3 latent buds in its leaf axillary stem.
The main results are as follows: 1. After the plant grows longer, it can be cut off with a sterilized knife or scissors between the roots under the leaves. Those with roots and leaves in the upper part are planted in a new pot or plate, so that they can continue to grow, and there is a part of the rhizome below, which is given proper moisture.
2. In order to prevent decay, disinfection and germicidal powder such as carbendazim can be applied on the incision.
3. After a short time, 1-3 latent buds can sprout (depending on plant sex and management methods). If the stem is too long, it can also be divided into multiple segments, as long as each segment is more than one inch long and has more than one root, each node can produce 1-2 buds.
The buds that continue to grow.
It has grown into two seedlings in the second year.
Cut the seedlings with roots from where they are easily separated.
Cut-off seedlings with roots.
4. Continue to grow after planting alone. A new pot of Phalaenopsis was born.
The above content is extracted from the experience sharing of folk experts!
What do you think? Next, let's enjoy the Mini Phalaenopsis Show in the 39 Horticultural Square! How pleasing to the eye!
Time: 2019-06-11 Click:
- Prev

Rose seed sowing method
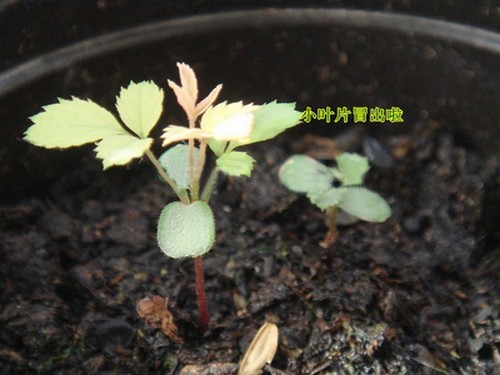
Growing roses from seeds can be challenging because most of the seeds you collect tend not to germinate, no matter how hard you try. Fortunately, most rose plants produce a large number of seeds, so there is usually no need to achieve a high success rate.
- Next

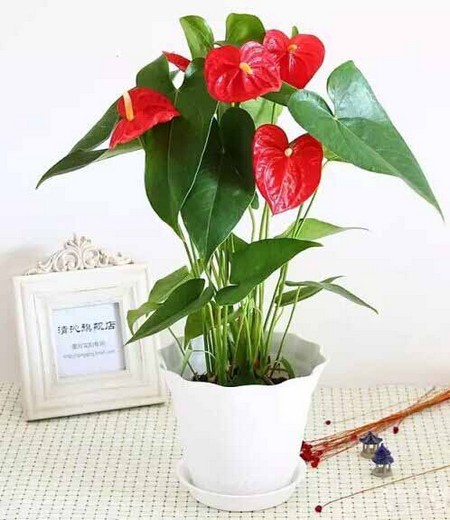
Propagation methods and matters needing attention of Anthurium andraeanum
Candle and its flowers of the same genus are new cut flowers and potted flowers at home and abroad. each flower can bloom for up to one month and blossom all the year round. Because the flower bud of candle is gorgeous, the plant is beautiful, and the viewing period is long, the market demand increases. Potted flowers are often decorated in indoor coffee tables and desks.
Related
- Fuxing push coffee new agricultural production and marketing class: lack of small-scale processing plants
- Jujube rice field leisure farm deep ploughing Yilan for five years to create a space for organic food and play
- Nongyu Farm-A trial of organic papaya for brave women with advanced technology
- Four points for attention in the prevention and control of diseases and insect pests of edible fungi
- How to add nutrient solution to Edible Fungi
- Is there any good way to control edible fungus mites?
- Open Inoculation Technology of Edible Fungi
- Is there any clever way to use fertilizer for edible fungus in winter?
- What agents are used to kill the pathogens of edible fungi in the mushroom shed?
- Rapid drying of Edible Fungi

