Cutting technique of potted Chrysanthemum
Chrysanthemum is not only one of the four famous flowers in China, but also one of the four fresh cut flowers in the world, and there are many varieties, which can not only be decorated with garden flower beds and mirrors, but also be planted as potted plants or made into bonsai with high ornamental value. Chrysanthemum, as a kind of ornamental potted flower plant, can also be eaten and has certain health care effect.

So, how do chrysanthemums reproduce? In general, chrysanthemum mostly uses asexual reproduction, which is mainly manifested in four propagation methods: cutting, striping, root division and grafting. But in all these methods, cuttage is the most common way to propagate young plants, and it is easy to use and survive. Today, the editor will share with you the cutting techniques of potted chrysanthemum.
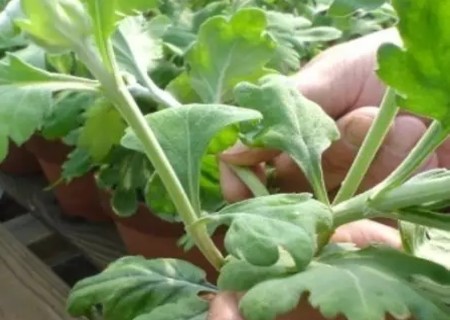
1. First prepare an adult chrysanthemum, and then cut some branches from the mother plant to make cuttings. Usually, most of the branches cut from the mother retain the upper half and are truncated about 20 centimeters from the top to the bottom.
2. When making cuttings, we need to consider that at least 1-2 leaf buds need to be retained in the cuttings, and the terminal buds also need to be retained at the top of the branches. After that, the cut cuttings are soaked in rooting liquid, which generally needs to be soaked for more than 2 hours before use.
3. Chrysanthemum also likes the fertile loam with loose air permeability and good drainage, and the soil rich in humus is the best. After preparing the culture soil, first pour water into the soil to keep it moist; then use chopsticks or branches to poke a hole in the culture soil with a depth of 6-8 cm and a suitable size, and finally insert the cuttings into the hole, and then compact the soil around the cuttings.
4. After cutting all the branches and compacting the soil around the cuttings, we also need to water once, but this time we need to spray the culture soil thoroughly, and then move the pot together with the cutting seedlings to a cool and ventilated place for maintenance and management.
5. The next thing we need to do well is shading. It is suggested that we should make a sunshade for the cuttings, cover the pot together with the cuttings during the day, remove them in the evening, and make timely hydration measures to maintain the humidity of the cutting bed to ensure that the cuttings germinate as scheduled.
6. When the leaf buds on the cuttings are found to be green, we must provide appropriate light conditions for them from now on. The best time to light is usually in the morning and evening, because the light at these two time nodes is relatively weak and will not sunburn or kill the cuttings. do not light and expose them at noon.
7. After the cuttings take root and spit green, we should gradually increase the light for it and do a good job of pot transplanting in time. During this period, watering should not be too much or too often, so as not to cause the plant to grow too fast and is not conducive to transplanting survival. (written by: laughing Book 2017-08-28 21:37)
Time: 2019-06-08 Click:
- Prev

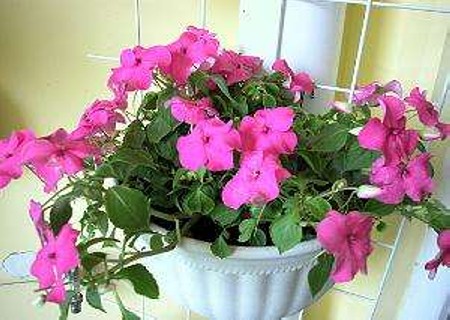
How to cut African Impatiens
There are many nicknames for African impatiens, such as Sudan impatiens, glass Cui and so on. This plant generally does not grow very tall, and the flowers are colorful and rich, so it is very suitable for potted plants. The stem and leaf price of African impatiens is very smooth, and the number of flowers is also very large.
- Next

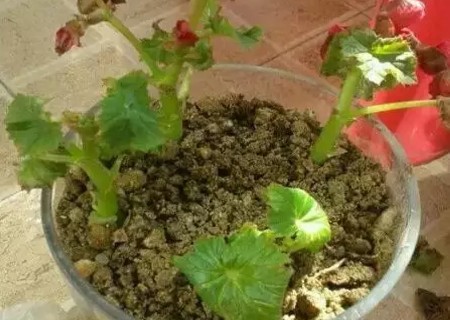
How to cut potted Rieger Begonia
Rieger crabapple is loved by everyone for its large and gorgeous flowers, which can be used not only as cut flowers, but also as potted plants. On the other hand, potted Rieger crabapple generally breeds young plants by cutting, which is divided into branch cutting and leaf cutting. no matter which method is adopted, each has its own advantages.
Related
- Fuxing push coffee new agricultural production and marketing class: lack of small-scale processing plants
- Jujube rice field leisure farm deep ploughing Yilan for five years to create a space for organic food and play
- Nongyu Farm-A trial of organic papaya for brave women with advanced technology
- Four points for attention in the prevention and control of diseases and insect pests of edible fungi
- How to add nutrient solution to Edible Fungi
- Is there any good way to control edible fungus mites?
- Open Inoculation Technology of Edible Fungi
- Is there any clever way to use fertilizer for edible fungus in winter?
- What agents are used to kill the pathogens of edible fungi in the mushroom shed?
- Rapid drying of Edible Fungi

