Making diagram of bonsai moss
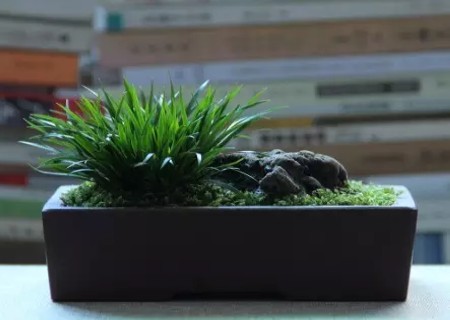
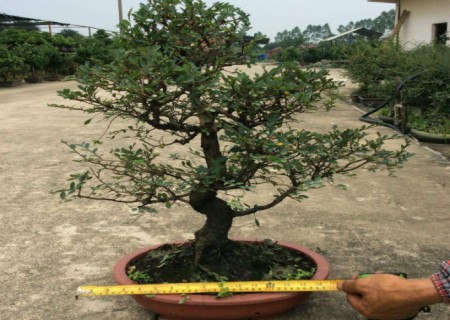
Since entering modern society, with the improvement of people's civilization and the increasing demand for spiritual food, bonsai has become an important part of more and more people's lives. Because raising some bonsai at home can not only improve people's taste, but also decorate the environment, and some can even achieve the role of purifying the air and repelling mosquitoes. This is really a pleasant and enjoyable choice!
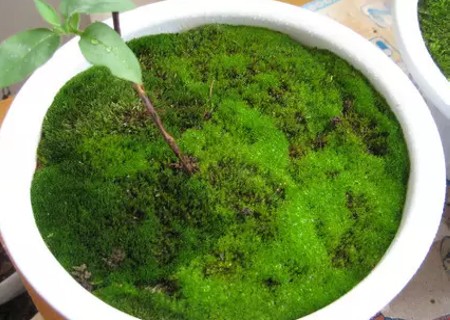
Now some bonsai friends share a picture and text tutorial on making bonsai moss, and the editor posts it here for everyone to appreciate and learn, hoping to play a guiding role in making bonsai moss by hand.
I. preparatory work
We should do the corresponding preparatory work before we do anything. Only when the preparatory work is done in advance can we deal with it calmly and easily in the later operation. The materials that need to be prepared are: moss, fine soil, bonsai, water, cups and so on.
Second, the production process
1. Arrange the moss
Before using moss, remove debris such as broken pieces of wood attached to the bottom of the moss, and operate gently to keep the whole piece of moss intact as much as possible.
2. Prepare the basin noodles
Scrape off the thicker and uneven soil on the bonsai prepared in advance, and then call it permeable. Then evenly sprinkle a layer of thin soil prepared in advance on the basin surface, about 0.5 cm thick. Then water it again, and then stir the fine soil and water into a thin mud.
3. Laying moss
First of all, the moss is pruned reasonably according to the size of the basin, and then several pieces of moss of the right size are put in. Use this method until the basin is all covered.
4. Fix the loophole
When laying several pieces of moss, looking at the basin as a whole, it is inevitable that some small corners or junctions are not completely stitched. This is also normal, but in order to achieve the effect of seamless splicing, we need to use moss fragments to cover all these uncovered pieces.
5. Fully fit
In order to make the laid moss look more realistic, like the feeling of natural growth and unity, we also need to gently pat the moss surface with our hands, especially in areas where the connection is not in place.
Third, clean the basin.
After finishing the process of paving the bonsai, we also need to clean up the potted noodles, especially the debris and moss fragments that fall on it, to make the moss on the bonsai look cleaner.
Fourth, watering in time
After cleaning the bonsai moss, we should replenish it with water in time to keep it moisturized, so as to further keep the moss fresh. Don't wait too long before watering, or the moss will look "lethargic".
V. late-stage management
Place the finished bonsai moss in the shade of the courtyard or somewhere else, but make sure the environment is cool and ventilated. After that, spray water on it once for 1-2 days to ensure the humidity of the moss. After a period of time, the moss can survive smoothly in the new environment.
Time: 2019-05-25 Click:

- Prev
The method of matching stone for calamus bonsai
Acorus calamus in the wild is usually accompanied by stones, which looks very interesting. Therefore, as a bonsai of calamus, it is more enjoyable and interesting than the potted plant of calamus alone. Acorus calamus itself has fine leaves, green hair and emerald green, while the matching stone has rugged rocks, ravines and ancient charm.
- Next
The method of making Beech Bonsai
Beech trees in the wild are often tall and majestic in shape, large canopy, very beautiful plant type, rich and colorful leaves with seasonal changes, dense shade in the peak growth period, and are widely used in gardens and other aspects. it is an important ornamental tree species. In addition to the surrounding outdoor landscape, the tree shape can also be viewed as a bonsai.
Related
- Fuxing push coffee new agricultural production and marketing class: lack of small-scale processing plants
- Jujube rice field leisure farm deep ploughing Yilan for five years to create a space for organic food and play
- Nongyu Farm-A trial of organic papaya for brave women with advanced technology
- Four points for attention in the prevention and control of diseases and insect pests of edible fungi
- How to add nutrient solution to Edible Fungi
- Is there any good way to control edible fungus mites?
- Open Inoculation Technology of Edible Fungi
- Is there any clever way to use fertilizer for edible fungus in winter?
- What agents are used to kill the pathogens of edible fungi in the mushroom shed?
- Rapid drying of Edible Fungi