Explanation of the insertion method of Ivy
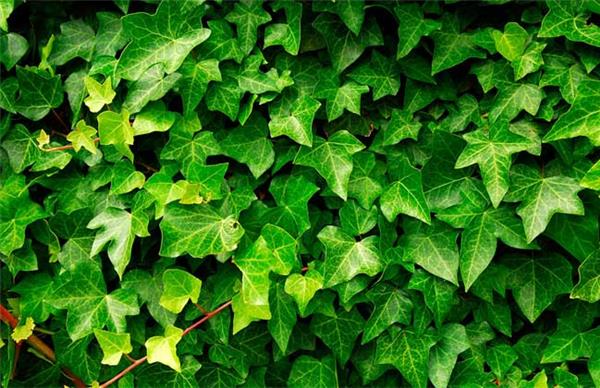
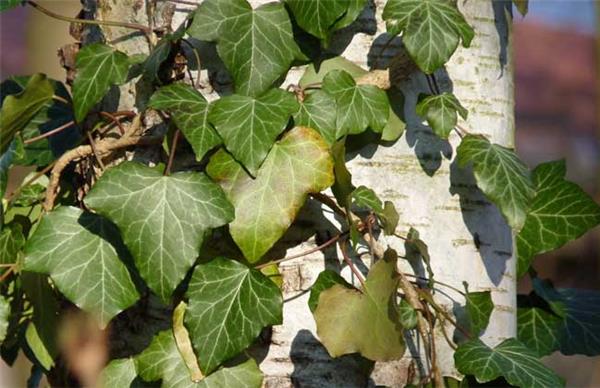
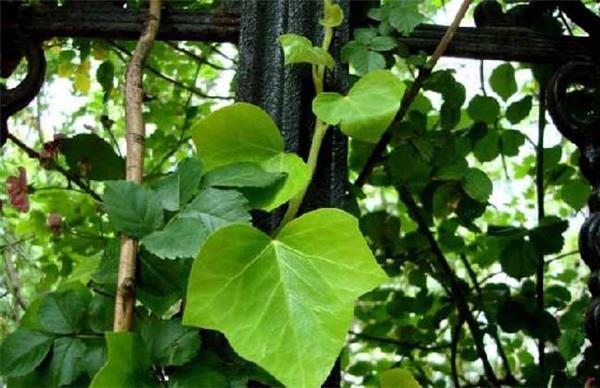
Ivy is a perennial evergreen climbing shrub of the genus Acanthopanax. The stems and vines are easy to root and propagate. Under greenhouse conditions, they can be planted all year round. Family reproduction is generally suitable for April-May in spring and August-September in autumn. Let's take a look at the planting methods of ivy.

Insert preparation
Take branches about 30 centimeters long from the top of ivy and carefully check whether there are insect tracks on the leaves and stems before planting. In particular, plants brought back from the wild are most avoid bringing back pests. Cutting branches will not affect the growth of the mother plant, and it can even promote the mother plant to branch and grow more new branches. Cut the ivy into segments about eight or nine centimeters long, be careful to use scissors, not with your hands, otherwise it will damage the plant tissue at the fracture and cut off the leaves at the bottom, leaving only the 2-4 leaves at the top.

Intercalation matrix
Prepare several disposable plastic cups and cut three or four holes in the bottom instead of flowerpots. This kind of "flowerpot" has several advantages. First, the soil is less, dry and wet alternately fast, and the cuttings will not rot because the soil is too wet for a long time. Second, the transparent cup can clearly observe the situation of plant rooting, root development and re-transplantation is conducive to survival. Third, it is convenient to transplant, when transplanting, buckle the cup backwards and protrude the complete clod, which can ensure that the root of the seedling will not be hurt. Fourth, it covers a small area. After cutting the hole at the bottom of the cup, put in the breathable soil, or sand, poke a hole in the soil in the middle of the cup with your fingers or chopsticks, put at least one branch that has cut off the leaves in the soil, and then fill the soil and press the soil around the cuttings slightly so that it will not stagger when watering.

Plug in management
1. Watering management: after the ivy has been watered thoroughly, it can be placed in a bright place without direct sunlight. In the first few days, it can be watered every two days or so. After about a week, the frequency of watering can be gradually reduced. Wait until it is observed that the soil is slightly dry before watering. Be careful not to let the soil completely dry.
2. Rooting and transplanting: under the condition of proper management and suitable temperature, the ivy can take root in about 15-20 days. Do not rush to transplant after rooting, let the seedlings continue to grow in the cup for a period of time, after a month and a half, the root system has developed well, you can transplant to a larger flowerpot.
3, maintenance after planting: after the ivy seedlings are transplanted, pour water thoroughly, first slow the seedlings in a place where there is no direct sunlight for two or three days, and then you can see the sun. Shape can be according to personal preferences, like a large fluffy basin, put in plenty of sunshine, watering can be mixed with urea or nitrogen fertilizer in the water, and often take off the top to promote it to be more branched. Like the elegant curl of Tingting, it is placed in a place where the indoor light is bright but there is no direct sunlight, and there is no need to put on fat, allowing it to grow freely.
The above is the editor to introduce you to the ivy insertion method, I hope to be helpful to you!
Related
- Wuhan Hospital Iron Tree Blooming Result Was Instantly Frightened by the Gardener Master
- Which variety of camellia is the most fragrant and best? Which one do you like best?
- What is the small blue coat, the breeding methods and matters needing attention of the succulent plant
- Dormancy time and maintenance management of succulent plants during dormancy
- Minas succulent how to raise, Minas succulent plant pictures
- What are the varieties of winter succulent plants
- How to raise succulent plants in twelve rolls? let's take a look at some experience of breeding twelve rolls.
- Attention should be paid to water control for succulent plants during dormant period (winter and summer)
- Watering experience of twelve rolls of succulent plants
- Techniques for fertilizing succulent plants. An article will let you know how to fertilize succulent plants.


