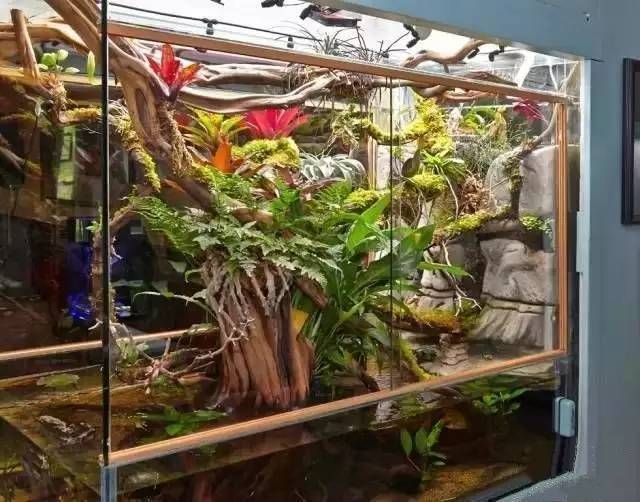
Super-large trench air rainforest landscaping all DIY this wave of operation is almost 6% of the takeoff

Don't say much, look at the operation!
The first part is to build the cylinder.
There is such a partition between the living room and the dining room
First, two pieces of root sunk wood are selected to be put together into a group, which is a wonderful shape.
The sunken wood is fixed with screws and straps, leaving a gap to serve as a space for planting orchids behind.
When the glass is glued, the cylinder appears, and the rainforest cylinder can actually be regarded as land and water, divided into water and underwater parts, so the lower part is a sealed cylinder, while the upper part is equipped with movable glass doors. The upper and lower orange are the slide rails of the glass door.
The detail of the glass door slide rail, the curved cardboard is later used as the dividing point between the water and the underwater.
In the past, the bottom filter of the colorful jar was directly used and connected to the bottom of the cabinet.
With so many layers of filter cotton, the filtration system must be very powerful.
Do a back filter, this is the back of the cylinder, see the valve, there is a pipe as thick as the water pipe at home.
The second part is carving
Yulin cylinder is generally three-dimensional shape, and the layout is complex, rarely use stone, easy to lead to cylinder body instability, load-bearing is too large, so generally use styrofoam, simulate the shape of stone instead, but this god is not styrofoam, but foam board carving.
The structure seems to be OK, but it is so smooth that it seems to be more like an Eskimo snow cave.
After looking at it for a long time, it is still not strong enough. If you want to make a stone more like a stone, you must have traces of time, that is, the holes and textures of the stones are eroded and weathered by running water, so you throw them away and start all over again. This time, you use a harder foam board to carefully carve out textures and voids to imitate the traces of years that have been eroded and weathered.
Carve it layer by layer and stick it together
The sculpture is finally finished, but it has to be polished to make it more delicate and less rough.
But the foam is so light that the underwater part has to overcome too much buoyancy and is very unstable, so it is necessary to dig a hole in it and put something heavy to fix it.
The cave is filled with lead beads and stones to ensure that it will not float again.
Can the lead beads be arranged more neatly?
After all the parts have been carved, put them in the jar to see the effect.
Then carve out the part on the water, the rock wall. The thin path serves as the way of water flow, and the area where moss and Dendrobium are planted, and the gap between the three large stones can be embedded in flowerpots to grow large plants in the future.
Part III coloring
First color it with a thin gray paint, and when it's done, it looks like this.
The color was too fake to be called stone, so a new earth color system was brought out and painted again.
This is the color (shai)
It looks much better, but those holes corroded by running water, the obsessive-compulsive disorder god thinks that if it is green, it will be more real. So began to focus on the color, those ditches and holes.
Trace it.
Trace it.
After tracing for a long time, looking at pieces of "rock" was really born in this way.
It felt too green, so I put on the light paint again, and now it seems to be much better. Put it in the tank and turn on the light. It's the same color.
Part IV planting area
The hardest work is finally done, and now you can fill in the gaps in the background wall with styrofoam and fix the planting basket.
With such planting blue, covered with water moss and mud, growing tropical plants is very breathable and easy to take out.
Stick the chaff on the styrofoam to block the styrofoam of the white flower, which is very natural, and a spray head is installed at the same time.
The fan goes up at the right time.
Part V adding water
The hard skeleton is finally built, put on the bottom sand, add water to see the effect (front).
Back
Prospect
Close range
Oblique side
Part VI planting
Ushered in the first batch of green life, furry lovely air-root wolf tail fern.
Dryopteris Dryopteris is planted in planting basket
Spring grass and cottongrass
I don't know this plant. I used a bandage to plant it on water moss.
Dendrobium candidum
Phalaenopsis
Stone bean orchid
Some other orchids
Panoramic view
Part VII underwater
Water plants come, there are coriander, big water banyan and small pepper grass
The sleeping lotus grows so fast that it is about to blossom.
The stagnant pineapple has also arrived.
Pitcher plant-- insectivorous plant
A kind of beautiful begonia
All kinds of orchids are in bloom.
The white palm also blossomed.
The wolf's tail is longer.
The mushrooms are growing out.
Part VIII cooling
Summer is coming, the temperature is too high, the fan is not enough, add chillers
So many wires.
Part IX biology
The lovely Little Shou Palace
The elf of blue eye shadow
This little guy is a fat paper.
A flirtatious guy is a good sleeper.
The back is a little scary.
This little teasing ratio is a kind of green forest frog.
The tenth part of the scene
There are surprises here.
- Prev

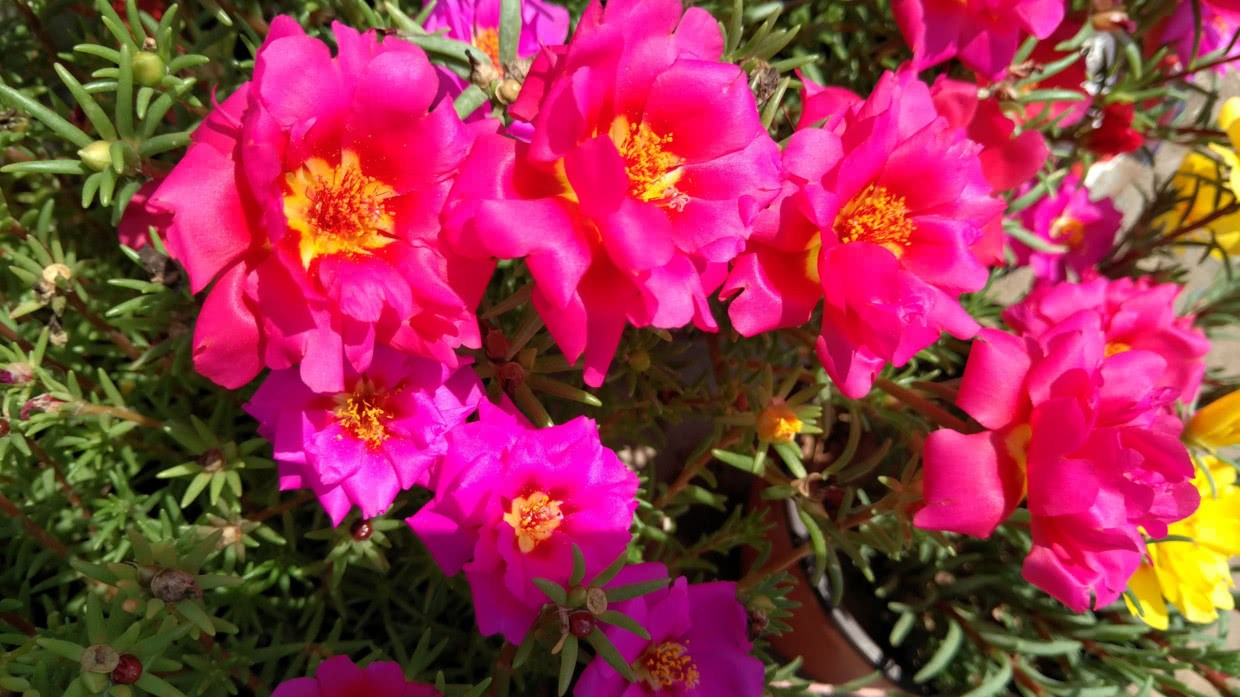
Sunflowers want to raise hard? As long as you pay attention to these four points, flowers can grow pots every year
Nowadays, most of the flower friends raise flowers in order to enjoy the wonderful scene after flowering, so flowers such as sunflower and hibiscus with a large number of flowers and a long flowering period are especially popular. There are a lot of people who are interested.
- Next

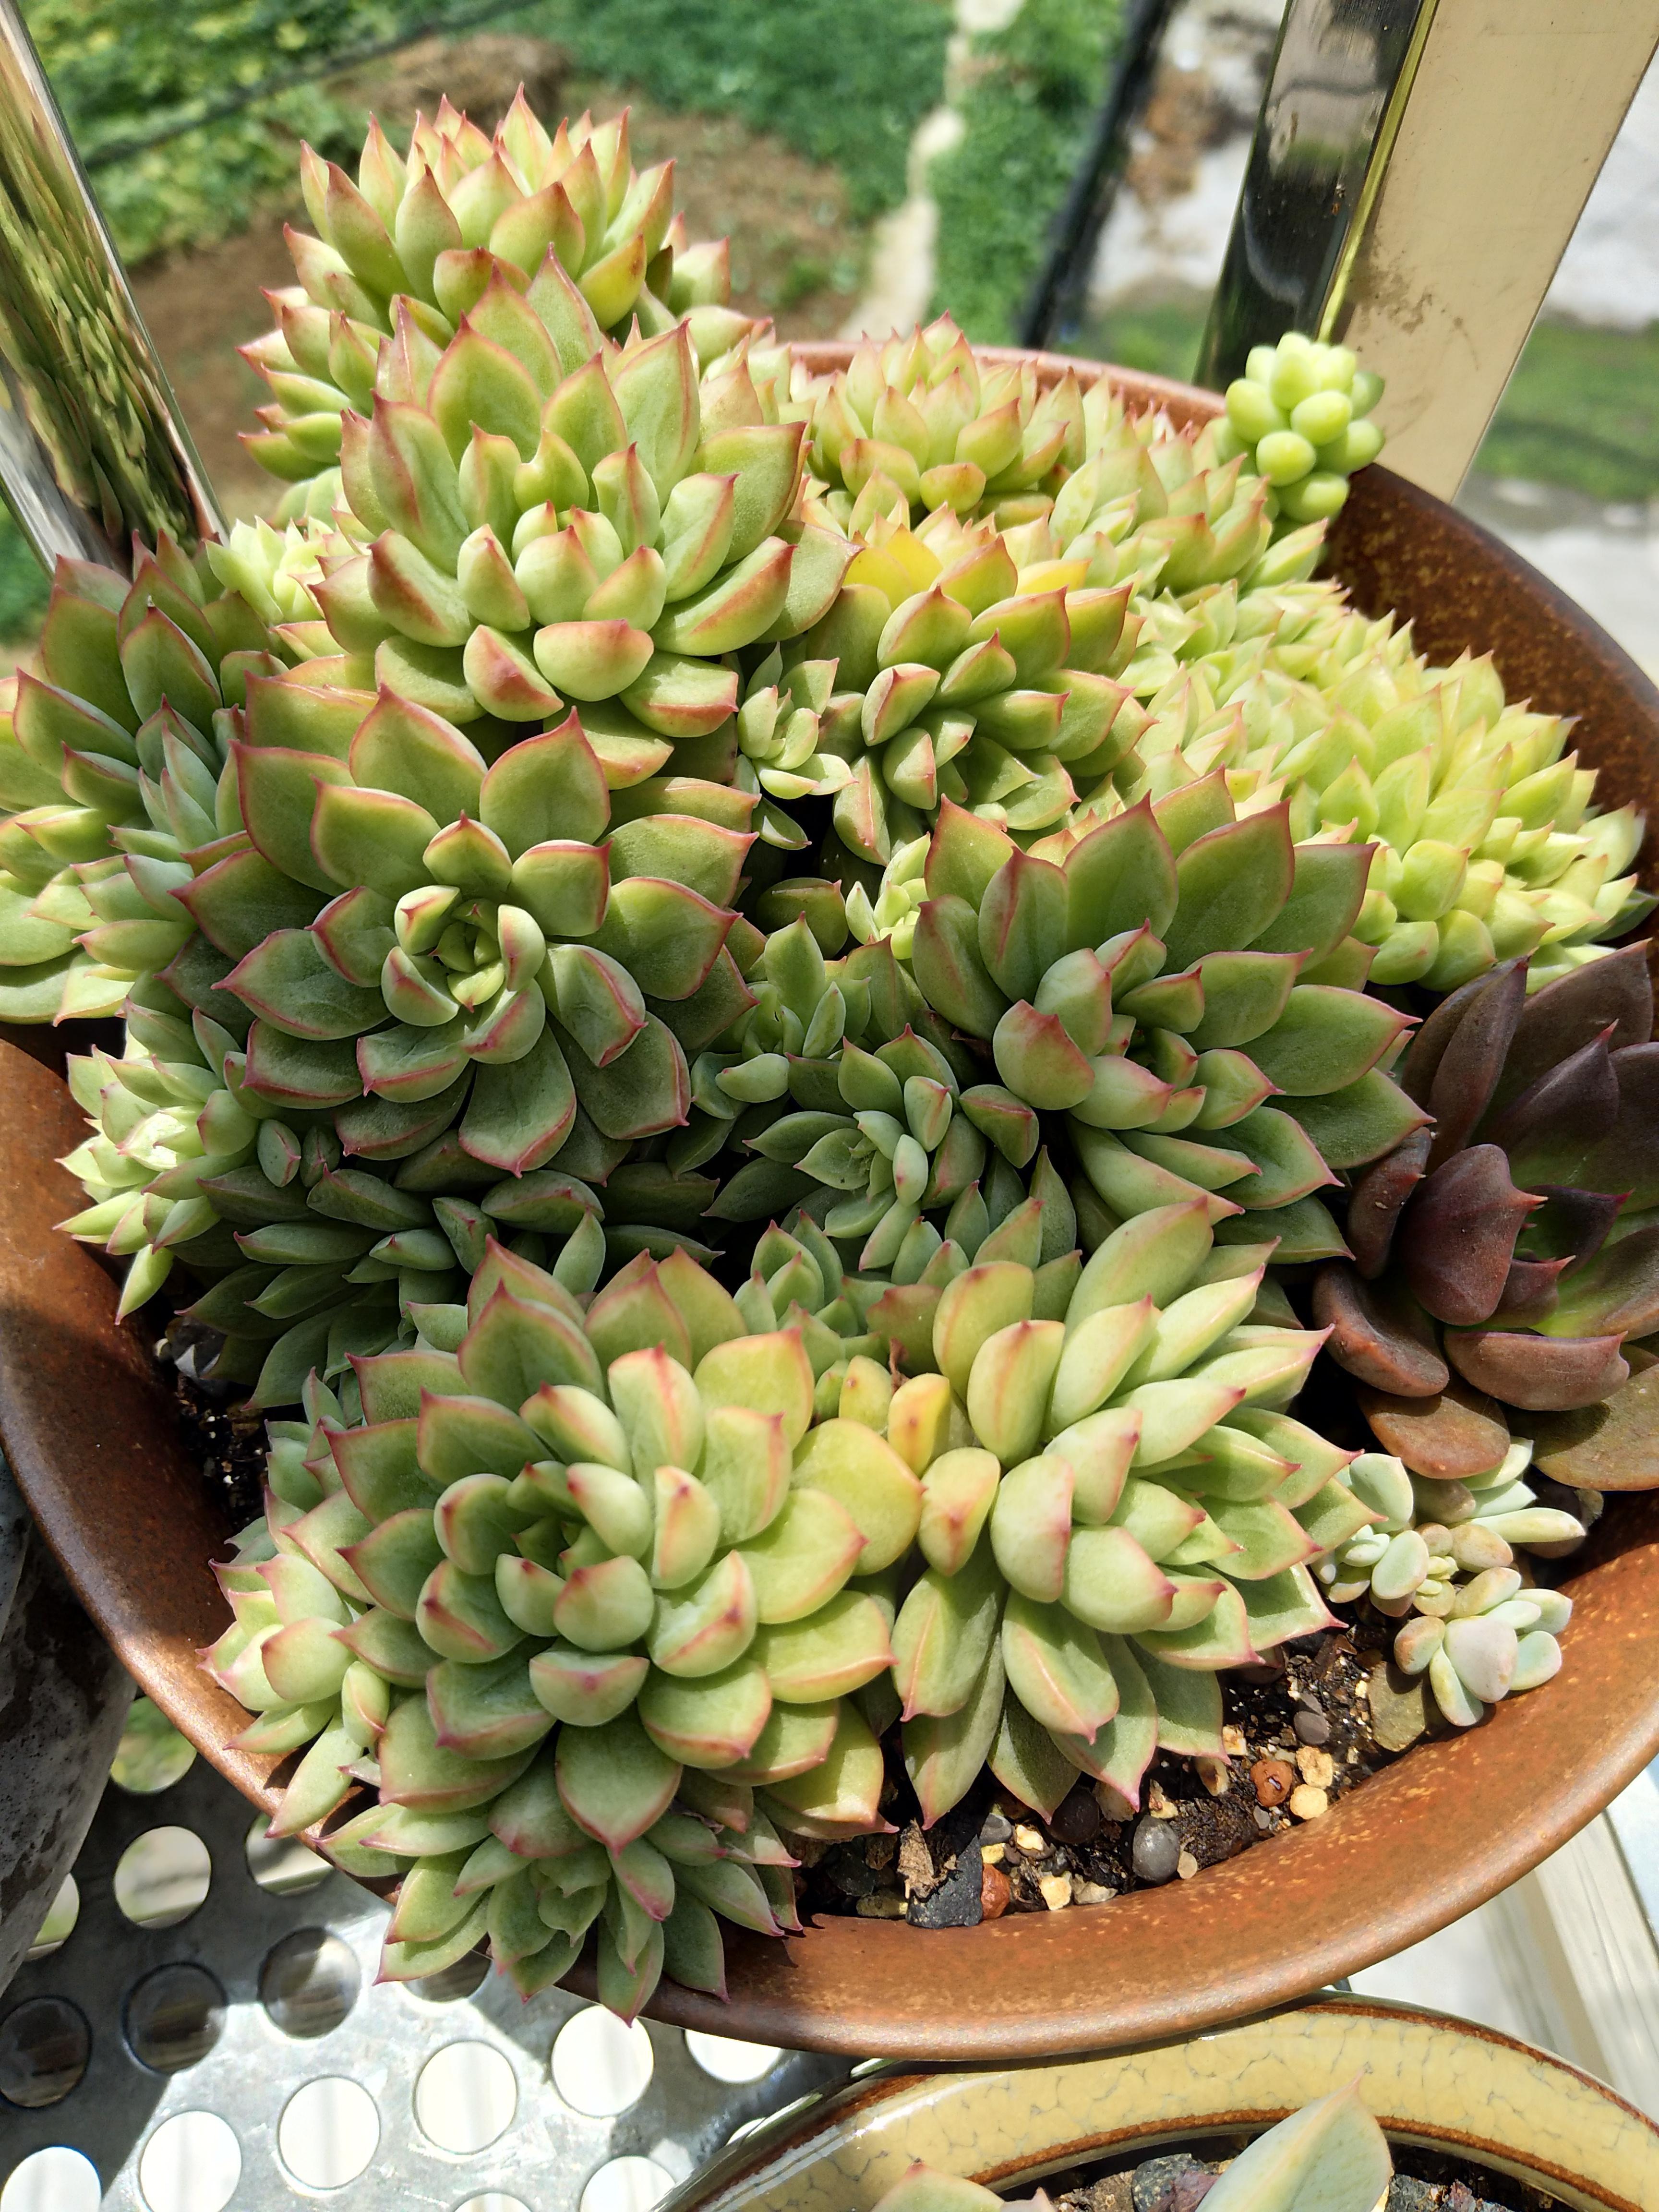
Raise succulent plants in August and make 4 key looks to surprise you in September.
How time flies, autumn has come, and there are still four months to 2019. Although autumn is coming, it is still very hot in Nanning, with more than 30 degrees every day, and you have to protect yourself from the sun when you go out. When autumn comes, many meat owners will come one after another.
Related
- Wuhan Hospital Iron Tree Blooming Result Was Instantly Frightened by the Gardener Master
- Which variety of camellia is the most fragrant and best? Which one do you like best?
- What is the small blue coat, the breeding methods and matters needing attention of the succulent plant
- Dormancy time and maintenance management of succulent plants during dormancy
- Minas succulent how to raise, Minas succulent plant pictures
- What are the varieties of winter succulent plants
- How to raise succulent plants in twelve rolls? let's take a look at some experience of breeding twelve rolls.
- Attention should be paid to water control for succulent plants during dormant period (winter and summer)
- Watering experience of twelve rolls of succulent plants
- Techniques for fertilizing succulent plants. An article will let you know how to fertilize succulent plants.

